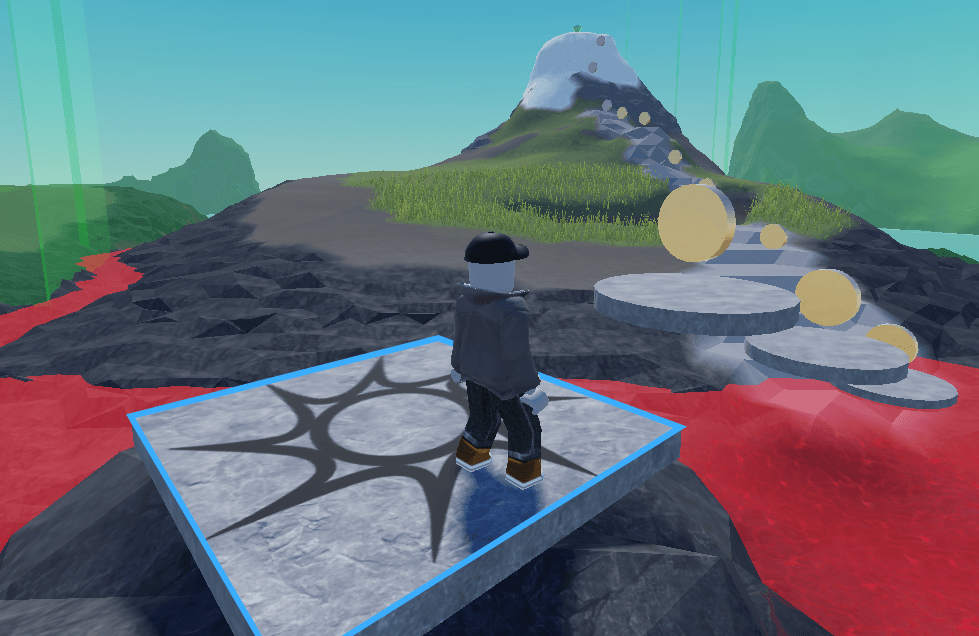
Every great Roblox adventure needs a place to begin. That’s where spawn locations come in—they tell the game exactly where players should appear the moment they hit “Play.” Add more of them and you’ll unlock something even better: checkpoints that save your players’ progress.
Let’s drop in your very first spawn.
Add a Spawn Location
You'll add spawn locations to your game from the Model toolbar:
1. Click to select the Model toolbar, then click Spawn.

2. Use the Move tool to drag the spawn exactly where you want players to start their journey.
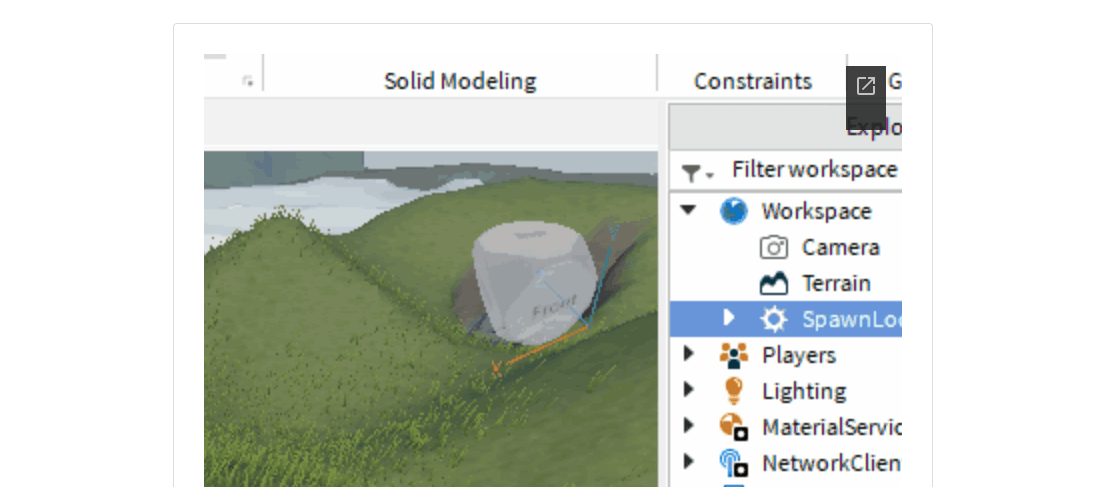
3. In the Explorer window, click on SpawnLocation and rename it "Start" so you always know which spawn location will kick off the game.
TIP: You can also rename objects in the Explorer by right-clicking and selecting Rename.
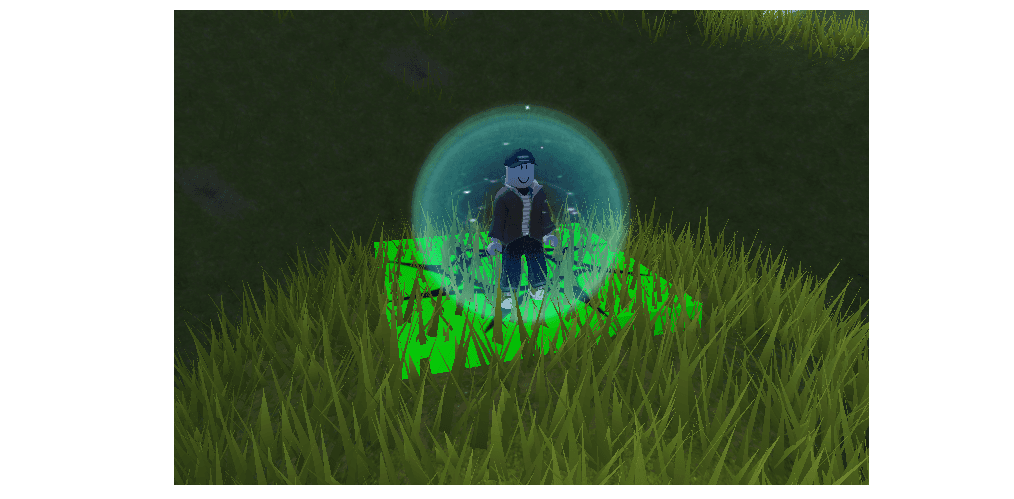
4. Press Play and test your spawn location.
If your spawn is added to your game correctly, your character should load in on top of it at the start of your game.
Want to give your spawn location some personality? Just like any part in Roblox Studio, you can change the color, material, or look of your spawn.
Rotate Spawn
If your character is facing the wrong direction when the game loads, you can change direction by rotating your spawn location. Here's how:
- Press Play to load your game.
- With your mouse, move the camera to face the direction you want your character to face. Take note of which direction you moved (left or right).
- Press Stop to return to the editing workspace.
- Select the Rotate tool from the toolbar and rotate the spawn location in the direction you noted earlier (left or right).
- Press Play again to test changes.
Ready to Level Up? Checkpoints!
When you introduce more than one spawn, you’re essentially designing your game’s save system.
A checkpoint is simply another spawn location that saves a player’s progress the moment they touch it. If they fall, miss a jump, or get eliminated, they’ll respawn at their latest checkpoint instead of going all the way back to the beginning.
This keeps players motivated and reduces frustration, especially in Roblox parkour obby-style games or jumping challenges.
Pro tip: Add a checkpoint after every major challenge or obstacle to keep your game fun and fair.
Need More Help?
If your child loves creating in Roblox Studio, they can take their skills even further with live, instructor-led Roblox camps and Roblox coding classes at iD Tech.
They’ll learn advanced building techniques, scripting fundamentals, game design concepts, and more, guided step-by-step by experts who know how to make learning fun.